The smartest way to get grades on trails, or dial the pin flags, is with a 100 inch or 50 inch level and a tape measure. With a 100 inch the measured rise is the percent as read, and with a 50 inch the measurement needs to be doubled for the percent grade.
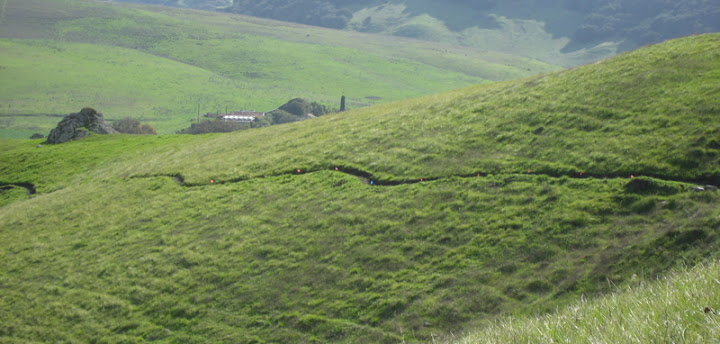
I developed the The M(ick) Level tool for fine-tuning pin flag runs to not deal with a tape measure. It can be used for trail layout in lieu of, or in addition to, a clinometer. I prefer clinometers for rough corridor layout, and the M Level (or a 50 or 100) for fine tuning pin flags, especially the setting of small (or large) reversals. I probably rely on walking/running (and sometimes riding) back-and-forth more-so, but the M Level can be helpful.![IMG_8513[1]](https://trailism.com/wp-content/uploads/2013/03/IMG_85131.jpg)
The long arm (or run) can be a 10′ section with a 1′ leg (or rise) at one end to make a 10% grade(or 5 feet and 6 inch leg ). A 7″ leg and 10′ arm, 7% . A bubble level can be attached to it, or placed on the long leg while the short leg is on the downhill side.

The M Level above has a 5′ long run and a 6″ (10%) and 3.5″ (7%) rises. Two more legs, or a tee, could be added to the non-tee leg to add more grade variation (e.g. 15% and 5%). I prefer 10 ft runs but a 10′ pole can be cumbersome to tote around. It does however speed things up in making large reversals, which should be a full bike length (or several). It can also add rhythm and patterns to reversal angles and sizes, which is nice…the trail can play a song more analogous to rock, or jazz… A similar tool is described here.